
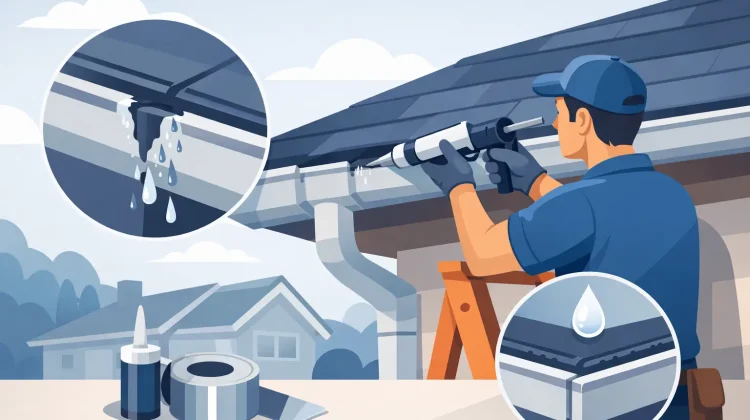
A drip at a gutter seam may look minor from the ground, but every heavy rain can send water onto siding, window trim, walkways, and the foundation instead of through the downspout. Knowing how to repair gutter seams can help address a small leak before it becomes an exterior maintenance problem. The right repair depends on why the seam failed in the first place, not simply on adding more caulk over an old patch.
Why Gutter Seams Start Leaking
Gutter seams are the connection points where two sections of gutter meet, or where an end cap joins the gutter run. These areas are exposed to standing water, debris, changing temperatures, ice, and movement from wind and snow. Over time, the original sealant can dry out, crack, pull away from the metal, or lose its bond.
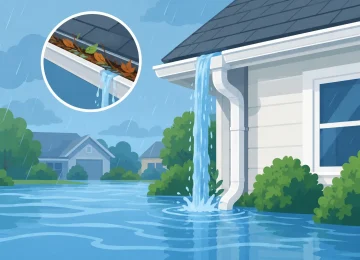
A seam may also leak because the gutter is holding water longer than it should. Poor slope, a clogged downspout, sagging hangers, or a section that has shifted out of alignment can all place extra stress on a sealed joint. If the gutter is overflowing during storms, the apparent seam leak may be only one part of the issue.
On older systems, corrosion is another concern. Aluminum gutters generally resist rust, but fasteners, steel components, and areas where protective finishes have worn away can deteriorate. Once metal around a seam is thin, brittle, or badly corroded, sealant alone is unlikely to provide a dependable long-term repair.
How to Repair Gutter Seams Correctly
A successful seam repair is mostly preparation. Sealant needs a clean, dry, stable surface to bond correctly. Applying a new bead over wet leaves, dirt, loose old caulk, or active water will usually result in another leak when the next storm arrives.
Start With a Safe Inspection
Inspect the gutter from the ground first. Look for staining on the fascia, siding, or soil directly below the seam. During a light rain, you may be able to identify the exact point where water escapes. Keep in mind that water can travel along the bottom of a gutter and drip several inches away from the actual opening.
If ladder work is necessary, use a stable ladder on level ground and avoid leaning it directly against the gutter. A helper is wise for higher or awkward areas. For two-story homes, commercial properties, steep grades, or locations near power lines, professional service is the safer choice.
Once you can see the seam, check for loose screws, separated sections, damaged end caps, sagging brackets, and debris. If the gutter is visibly pulling away from the fascia or has a pronounced low spot, correct the support or alignment issue before sealing the joint.
Clean Out the Gutter and Remove Failed Sealant
Remove leaves, sediment, and standing water from the gutter. Then use a putty knife, scraper, or stiff brush to remove loose, cracked, and peeling sealant around the leaking seam. You do not always have to strip every trace of old sealant, but anything that is no longer firmly attached should come off.
Clean the area with a suitable cleaner and a rag, then allow it to dry completely. For aluminum gutters, avoid aggressive tools that may gouge the metal or damage the finish. The seam should be dry both inside and outside, since moisture trapped in the joint can interfere with adhesion.
This step is where many do-it-yourself repairs go wrong. A fresh layer of sealant may hide an old failure for a short time, but it cannot reliably bond to a surface that is dirty or already separating.
Refasten and Realign the Joint if Needed
Before applying sealant, make sure the gutter sections are properly seated. Tighten loose fasteners or replace them with corrosion-resistant gutter screws when appropriate. If sections have shifted, gently realign them so the overlap sits correctly and water can flow toward the downspout without catching at the seam.
Do not force badly bent metal back into place. A distorted gutter may have been damaged by ice, a ladder, a fallen branch, or loose mounting hardware. Pushing on it can make the separation worse or damage the fascia behind it. In that situation, replacing the affected section is often more dependable than trying to reshape it.
Apply the Right Gutter Sealant
Use a high-quality sealant rated specifically for gutters, exterior metal, and wet-weather exposure. Butyl rubber gutter sealant and certain polyurethane-based products are common choices because they remain flexible as the metal expands and contracts. Standard interior caulk is not designed for this job and often fails quickly outdoors.
Apply the sealant from the inside of the gutter, where water pressure is concentrated. Run a continuous bead along the seam and press it into the joint so there are no gaps or air pockets. For end caps, seal the full connection line where the cap meets the gutter.
A thicker bead is not automatically better. Too much product can create a messy ridge that catches debris and holds water. The goal is a continuous, well-adhered seal across the joint. Follow the manufacturer’s curing instructions, and avoid testing the repair with a hose until the sealant has had adequate time to set.
Test the Repair and Watch the Water Flow
After the sealant cures, run water through the gutter with a hose. Start at the end farthest from the downspout and use a steady flow rather than high pressure. Watch the repaired seam from below and check whether water moves freely to the downspout.
If water pools near the repair, the seam itself may be sealed but the gutter pitch may be off. Gutters need a subtle slope so water drains instead of standing along the run. Repeated pooling will shorten the life of sealant, encourage debris buildup, and add weight to the system.
When a Gutter Seam Repair Is Not Enough
Sealant repairs work well for a localized seam failure on an otherwise sound gutter. They are not the right solution for every situation. If several seams leak, the system may be reaching the point where repair costs and repeat maintenance no longer make practical sense.
Consider professional evaluation when you see recurring leaks after repairs, extensive corrosion, loose gutters, damaged fascia, separated sections, or water pooling across long runs. Seam leaks near the corners can also signal that the gutter is under stress from poor support or improper drainage layout.
For many homes, replacing multiple short sectional gutters with a properly sized seamless system reduces the number of joints that can eventually leak. That does not mean every leaking seam requires replacement. It means the best recommendation should reflect the gutter’s overall condition, roof drainage volume, and the property’s long-term maintenance needs.
Protecting Repaired Seams From Future Leaks
Regular cleaning is one of the simplest ways to protect seam repairs. Leaves and roof grit can block water flow and create standing water at joints. In New Jersey and Staten Island, seasonal leaf drop, freeze-thaw cycles, and heavy rain can all add strain to a gutter system.
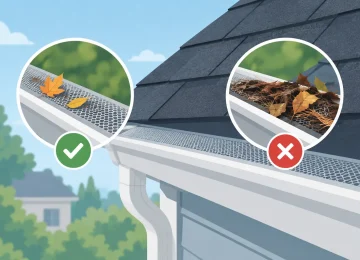
Check gutters in spring and fall, as well as after major storms. Make sure downspouts are clear and discharge water away from the building. If debris accumulation is frequent, professionally installed gutter guards may reduce clogs, though they should be selected and installed to suit the roofline and gutter system rather than treated as a maintenance-free fix.
Also pay attention to the condition of hangers and fascia. A seam repair can only last when the gutter remains firmly supported and pitched correctly. Keeping the whole system in good working order protects the repair and helps direct water where it belongs.
A small seam leak deserves attention before it stains siding or reaches the foundation. If ladder access is unsafe, the metal is damaged, or the leak returns after a careful repair, Cavallari Gutters can assess the full drainage system and provide a clear recommendation built around lasting property protection.

Leave a Reply